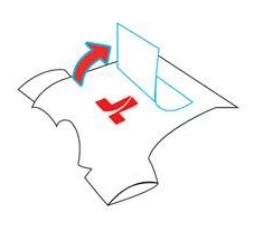
Microtec recently developed DTF printers for print on different kinds of fabric. Let us see what is DTF printing.
The DTF process is as straightforward as its name implies - print onto a film and then transfer directly onto fabric. Its greatest advantage lies in the freedom to choose from a wide range of fabrics, including polyester, cotton, silk, and synthetic fibers such as rayon and terry cot. This versatility makes DTF printing a popular choice for a large number of people who seek to achieve high-quality prints on their desired materials.
Here is the DTF printing processing:
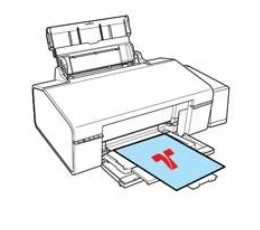
Step 1- Print on Film
To begin the DTF process, use PET film instead of regular paper and load it into the printer trays. Start by printing the entire image in white onto the PET film. It is crucial to remember that the image on the film should be a mirror-image of the actual image that you want to appear on the fabric. This is an important step to ensure that the final print appears correctly on the fabric.
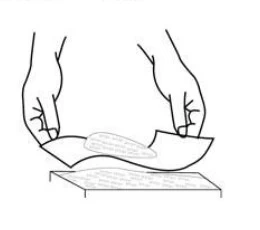
Step 2 - Powdering
In this step, hot-melt powder is applied to the film with the printed image on it. The powder should be applied uniformly while the print is still wet, and any excess powder should be removed carefully. It is important to ensure that the powder is spread evenly over the entire printed surface on the film. This step is crucial as it helps to bond the ink to the fabric during the transfer process.
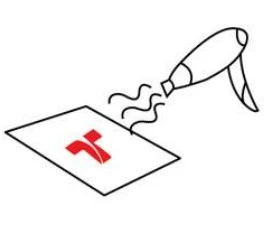
Step 3 - Melting the powder
In this step, the hot-melt powder is melted. There are various ways to accomplish this, but the most common method is to place the film with the printed image and the applied powder in a curing oven and heat it. If a curing oven is not available, the film can be placed inside a heat press with the top of the press brought very close to the film without touching it. This step is essential as it melts the powder and helps in bonding the ink to the fabric.
Step 4 - Pre-pressing
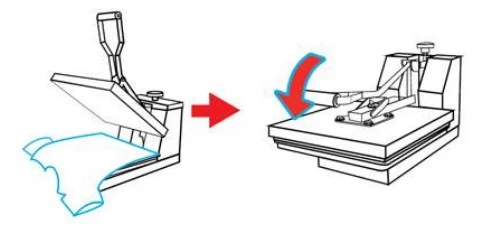
This step involves pre-pressing the fabric before transferring the image using the film. The fabric is placed in the heat press and pressurized under heat for around 2 to 5 seconds. This is done to flatten the fabric and also to remove any excess moisture from it. Pre-pressing is important as it helps in the proper transfer of the image from the film onto the fabric.
Step 5 - Transfer
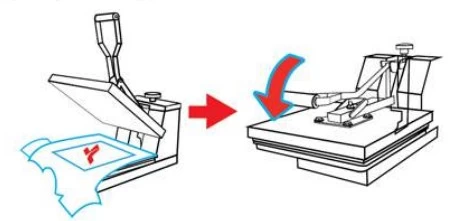
This is the heart of the DTF printing process. The PET film with the image and melted powder is placed on the pre-pressed fabric in the heat press to ensure strong adhesion between the film and the fabric. This process is also known as "Curing". The curing is done at a temperature range of 160 to 170 degrees Celsius for approximately 10 to 20 seconds. During this time, the film is firmly attached to the fabric. This step is crucial as it ensures proper transfer of the image onto the fabric, resulting in a high-quality printed product.
Step 6 - Cold Peel
It is important to allow the fabric and the attached film to cool down to room temperature before peeling the film off. As the hot-melt powder cools down, it acts as a binder that holds the colored pigment in the ink in firm adhesion with the fibers of the fabric. Once the film is cooled, it can be peeled off the fabric, leaving behind the required design printed in ink on the fabric. This process is known as "Cold Peel".
